From Digital Model to 17-Inch 3D-Printed Cosplay Prop
A customer came to Cru Bear with a detailed digital model of a stylized character prop and a simple question: could we make it real? The file looked great on screen, but it had never been built to be printed. Before any of it could reach a print bed, the model had to be taken apart, understood, repaired, and rebuilt into an actual production package.
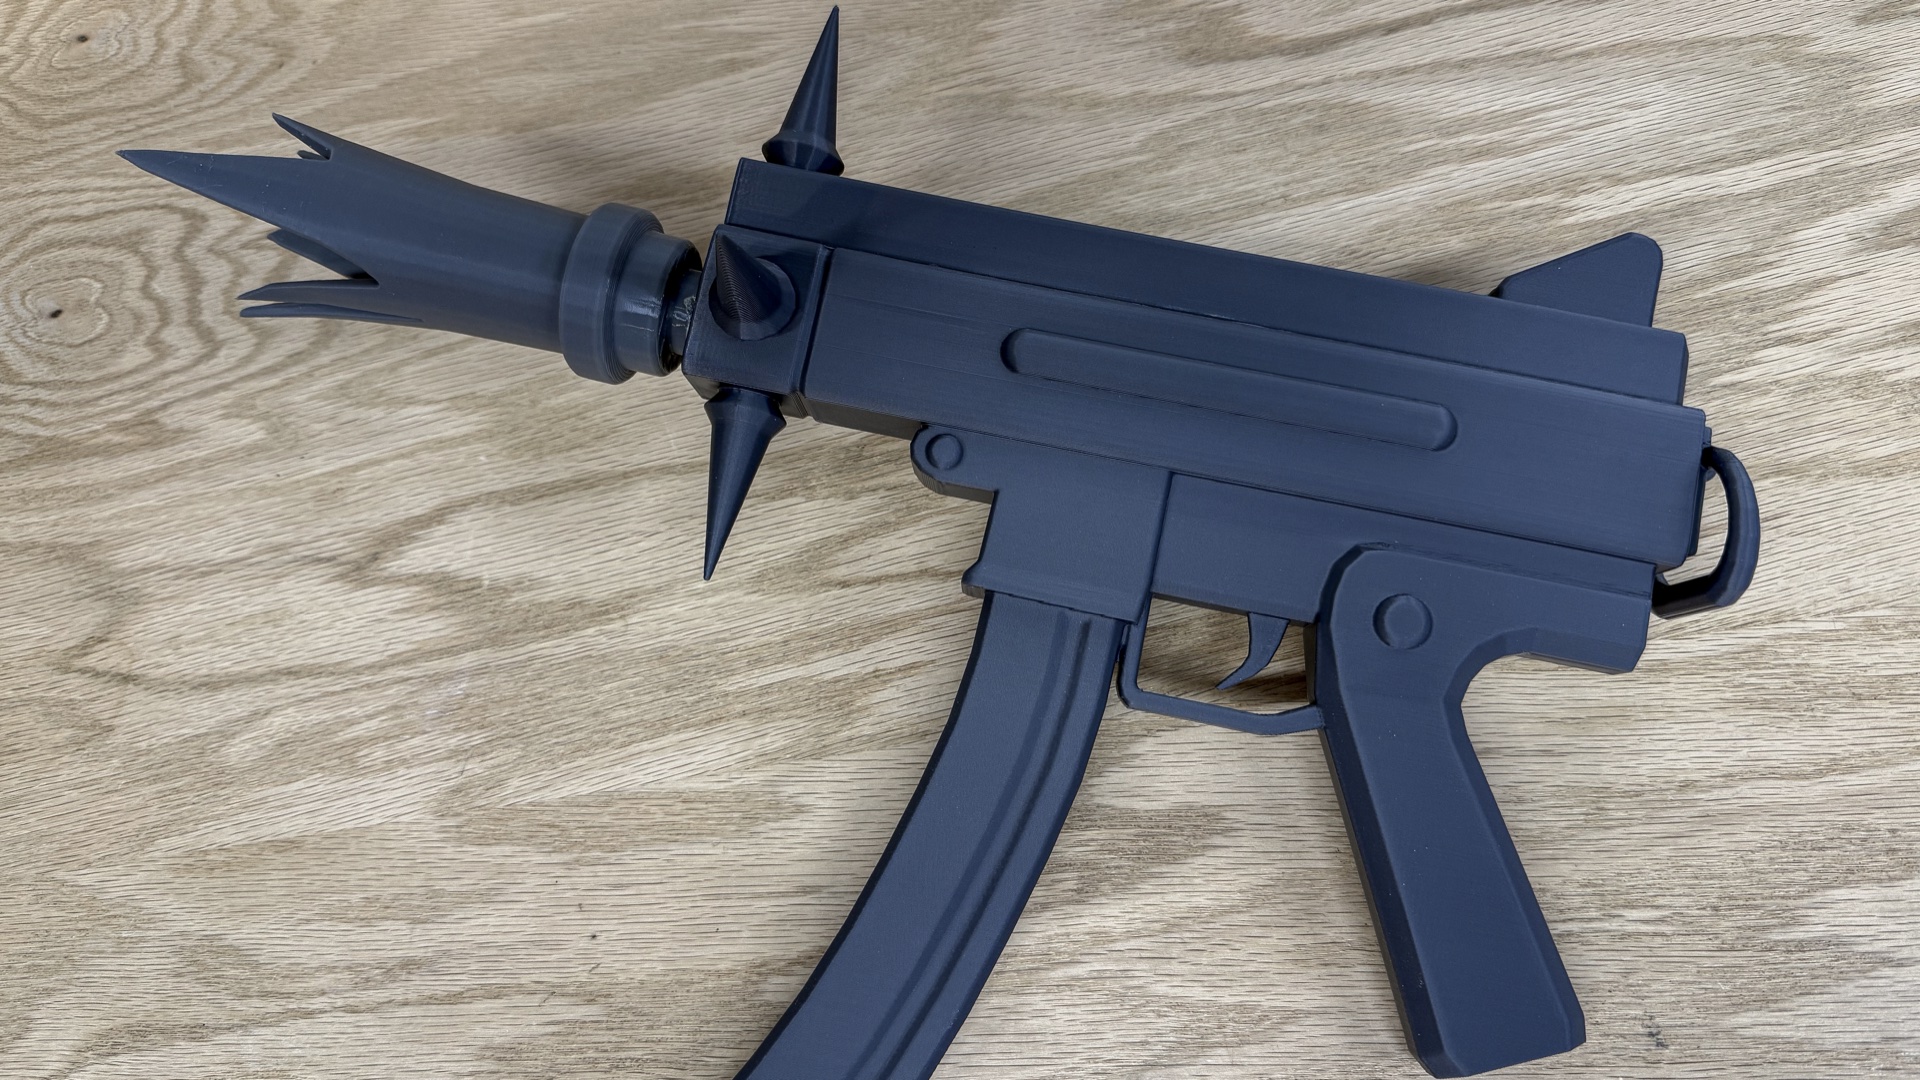
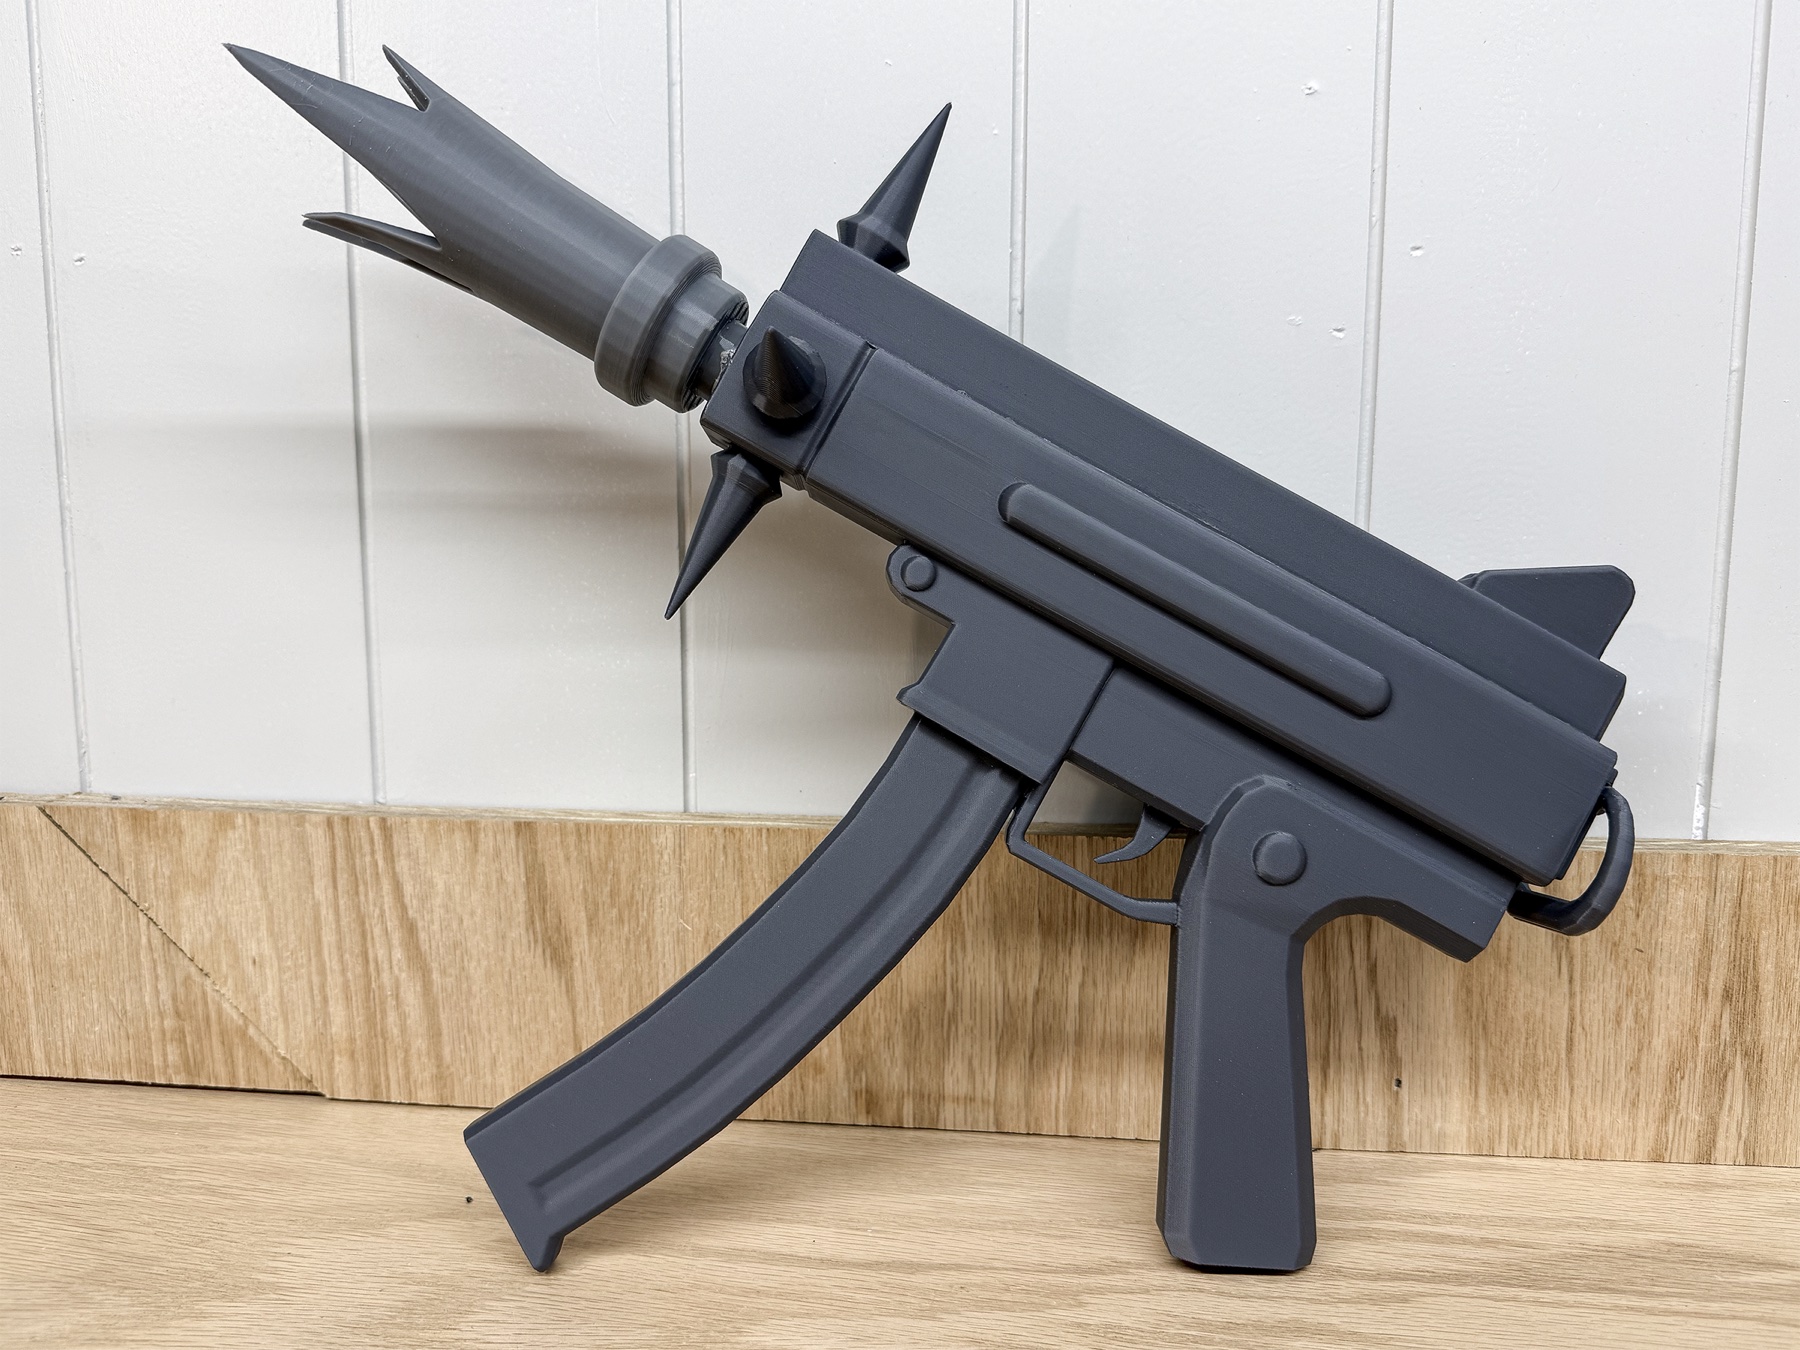
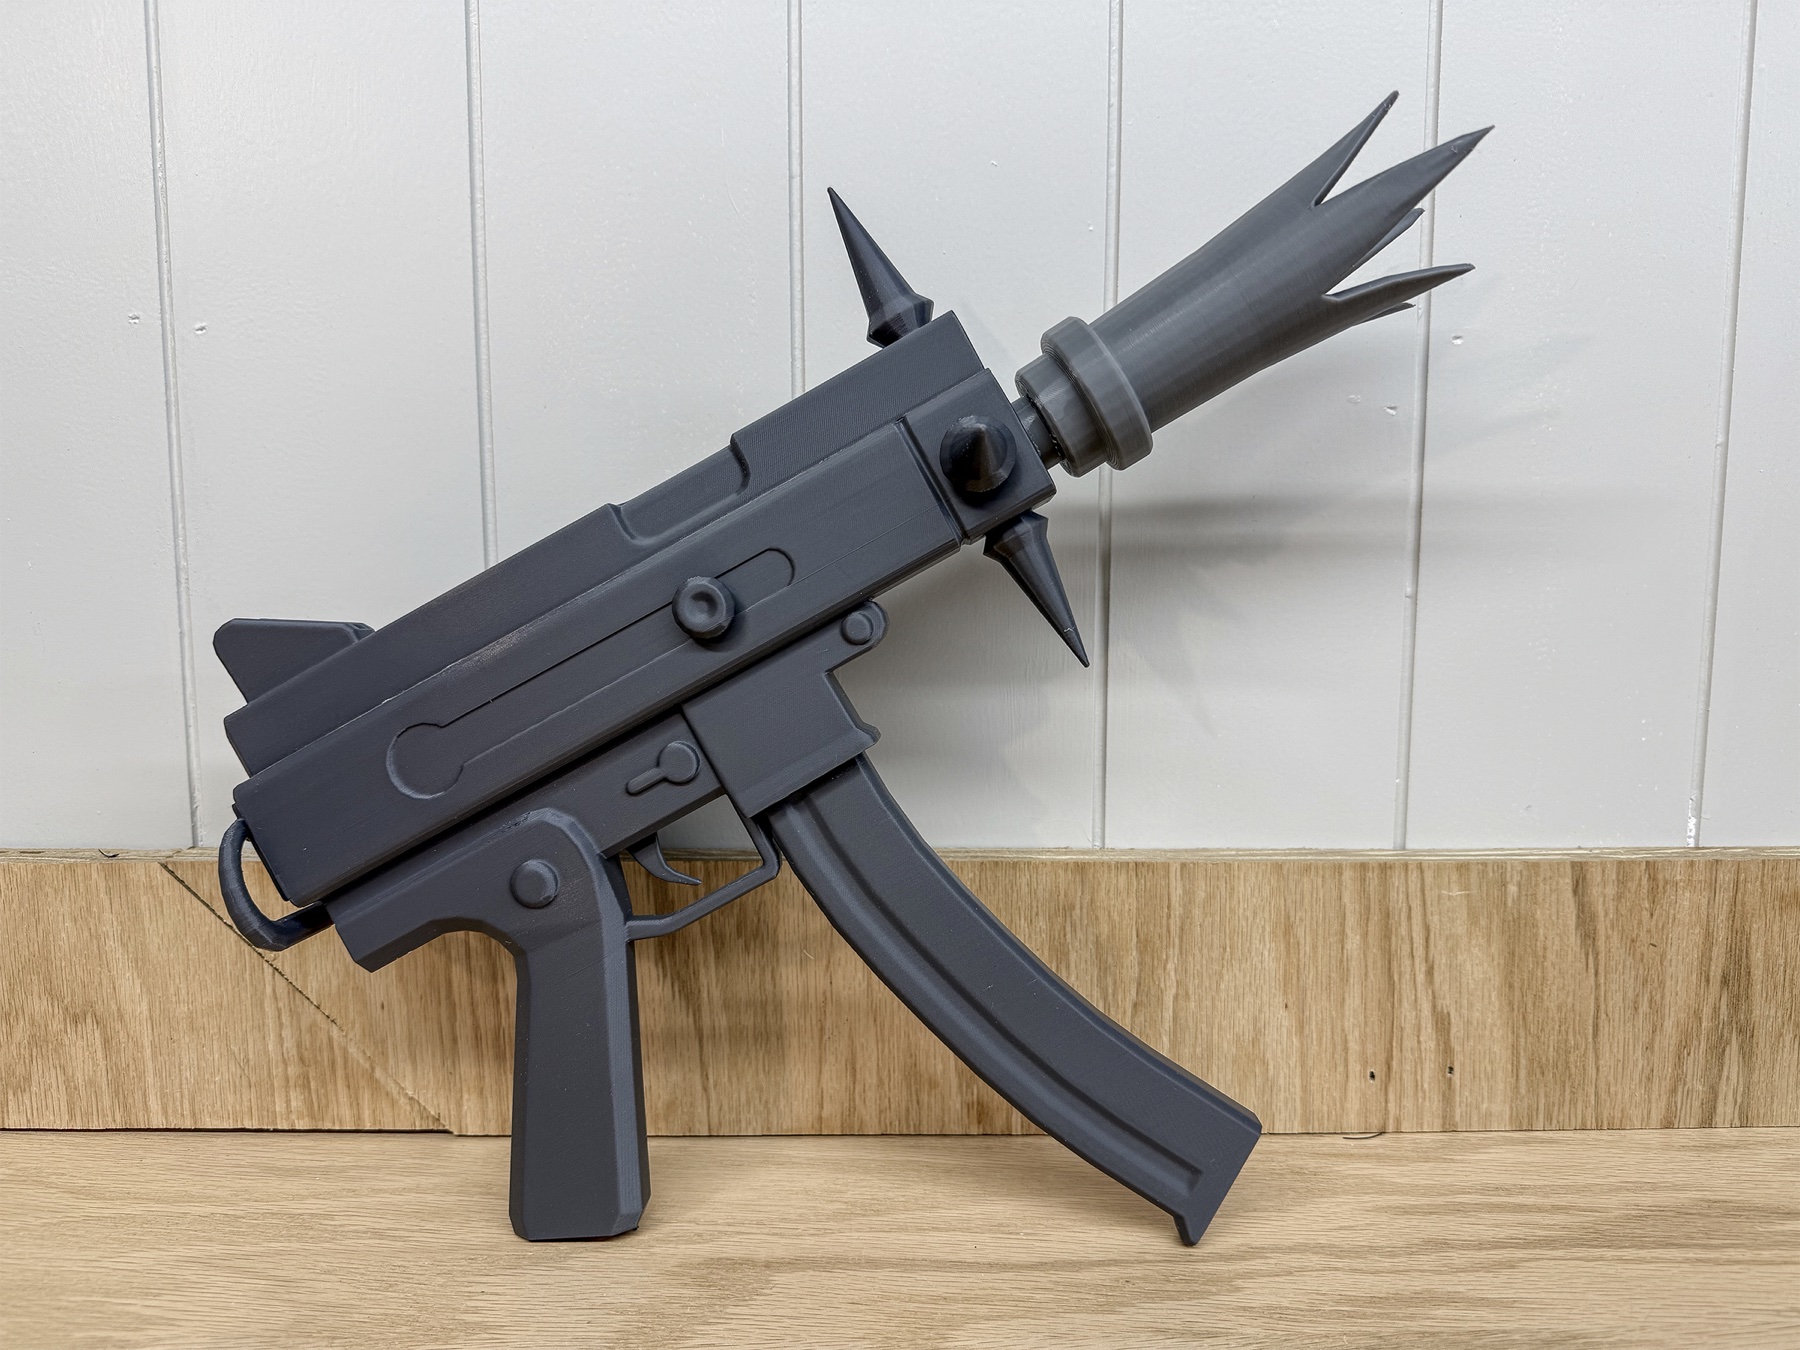
The finished piece measures approximately 17.0 by 13.2 by 5.5 inches assembled, including the full flame-shaped muzzle. It was printed in gray PLA and assembled in our Louisville shop as a display and costume piece, not a functioning device. The customer supplied the original digital model; Cru Bear did not create the underlying character design. Our work was the production engineering that made it printable.
The Source Challenge
The supplied STL opened in Blender as one dense object of 97,865 polygons that separated into 305 loose geometry islands. Those islands were a mix of the prop itself, unrelated components that were outside the scope of this build, and small fragments of stray geometry. Surfaces intersected one another, and at the size the customer wanted, the piece was far too large to produce as a single print.
Project Highlights
- Customer-supplied digital model engineered for production
- Approximately 17 inches long assembled, including the muzzle
- 305 loose geometry islands sorted, isolated, and rebuilt
- Three printable sections plus a dedicated connector set
- Three centered alignment pins and one keyed muzzle joint
- Gray PLA, printed and assembled in Louisville


Preparing the Model in Blender
The first job was sorting. We identified the geometry that actually made up the prop, set aside the unrelated components that were outside the scope of this build, and excluded a stray hand detail that had nothing to do with the piece.

Cataloging every loose island is tedious, but it is the only way to be certain nothing important gets thrown away and nothing unwanted gets printed. Each component was separated and identified before any repair work started.


With the correct parts isolated, the geometry was fused using a controlled 0.4 mm voxel process, cleaned of two microscopic debris islands, and given six restrained smoothing passes at a factor of 0.40. That combination removed the intersecting and triangular surface artifacts without washing out the model. Keeping the intentional low-poly styling intact mattered here: the faceted look is part of the character, not a defect to be smoothed away.
Designing the Split
The accepted production package divided the prop into four elements: a main body carrying the handle, magazine, sight, and side detail; a lower slide cut along the model’s own molded seam; a complete flame-shaped muzzle assembly with a clean perpendicular mating face; and a connector set of three round body-alignment pins plus one keyed muzzle connector. Splitting along a seam the model already had meant the joint would read as part of the design rather than as a repair.

Engineering the Alignment
Large parts are easy to print and hard to line up. The three body pins were placed along the seam centerline, and the main body and lower slide were each prepared with matching flat interfaces so they could sit directly on the print bed and still meet cleanly afterward. The muzzle used a keyed connector so it could only seat one way, which takes the guesswork out of bonding.


Verifying Before Printing
Rather than trust the plan, we reassembled the split parts in Blender at final coordinates and measured them. The mating bounds agreed within approximately 0.003 mm at final scale, and all three pin and socket axes showed a 0.0 mm centerline delta. One apparent mismatch in exterior width turned out to be the original model’s intentional molded step rather than a split error, so it was left exactly as the customer designed it.

Project Specifications
Specifications
- Source: Customer-supplied digital model, preserved unchanged
- Assembled size: Approximately 17.0 x 13.2 x 5.5 inches
- Sections: Main body, lower slide, and complete muzzle assembly
- Connectors: Three round alignment pins and one keyed muzzle connector
- Material: Gray PLA, with PETG used only at support interfaces
- Seam verification: Mating bounds within approximately 0.003 mm at final scale
- Alignment: 0.0 mm centerline delta across all three pin axes
- Finish: Assembled and cleaned in gray PLA, left unpainted

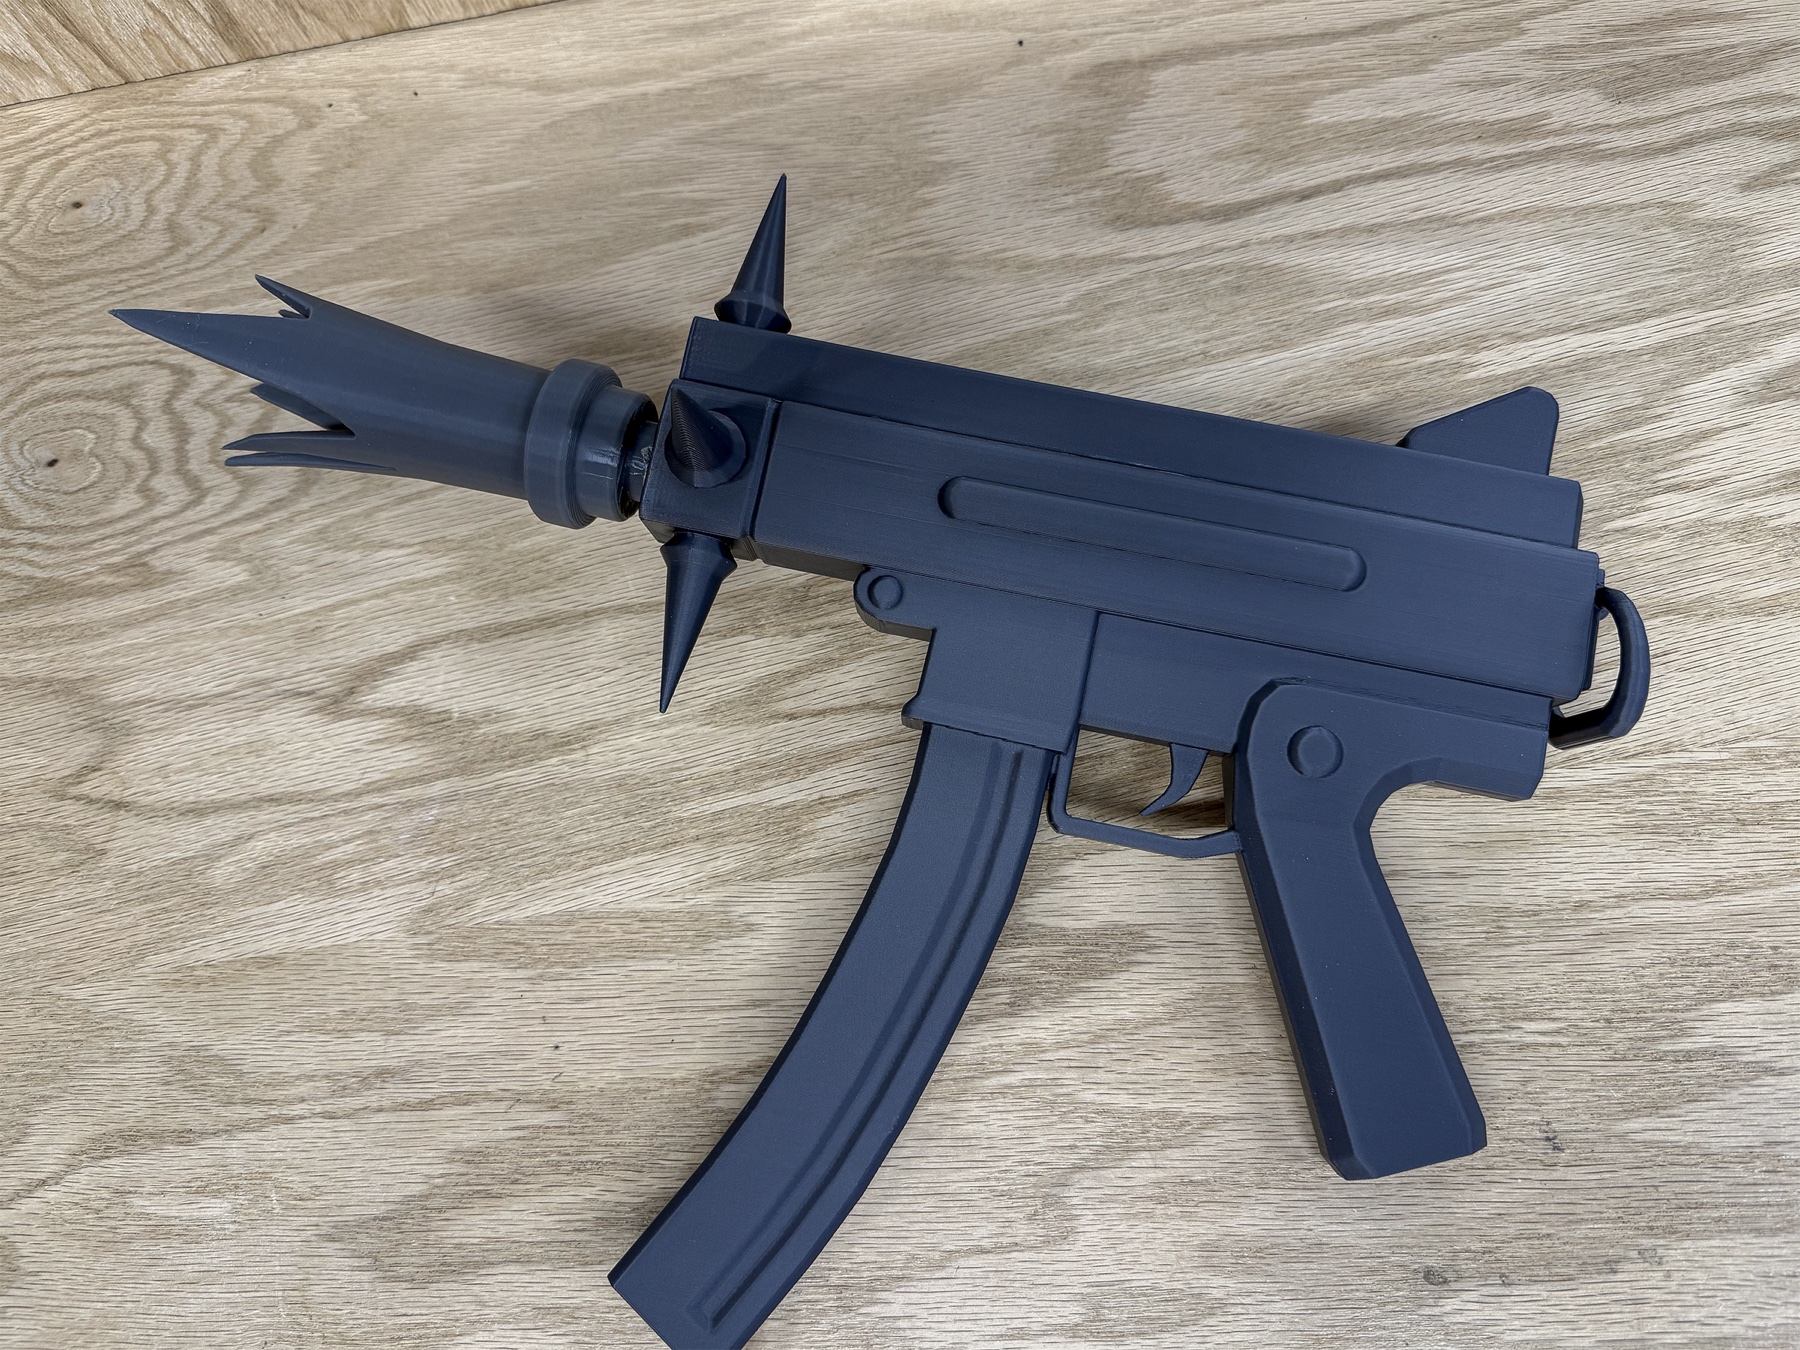
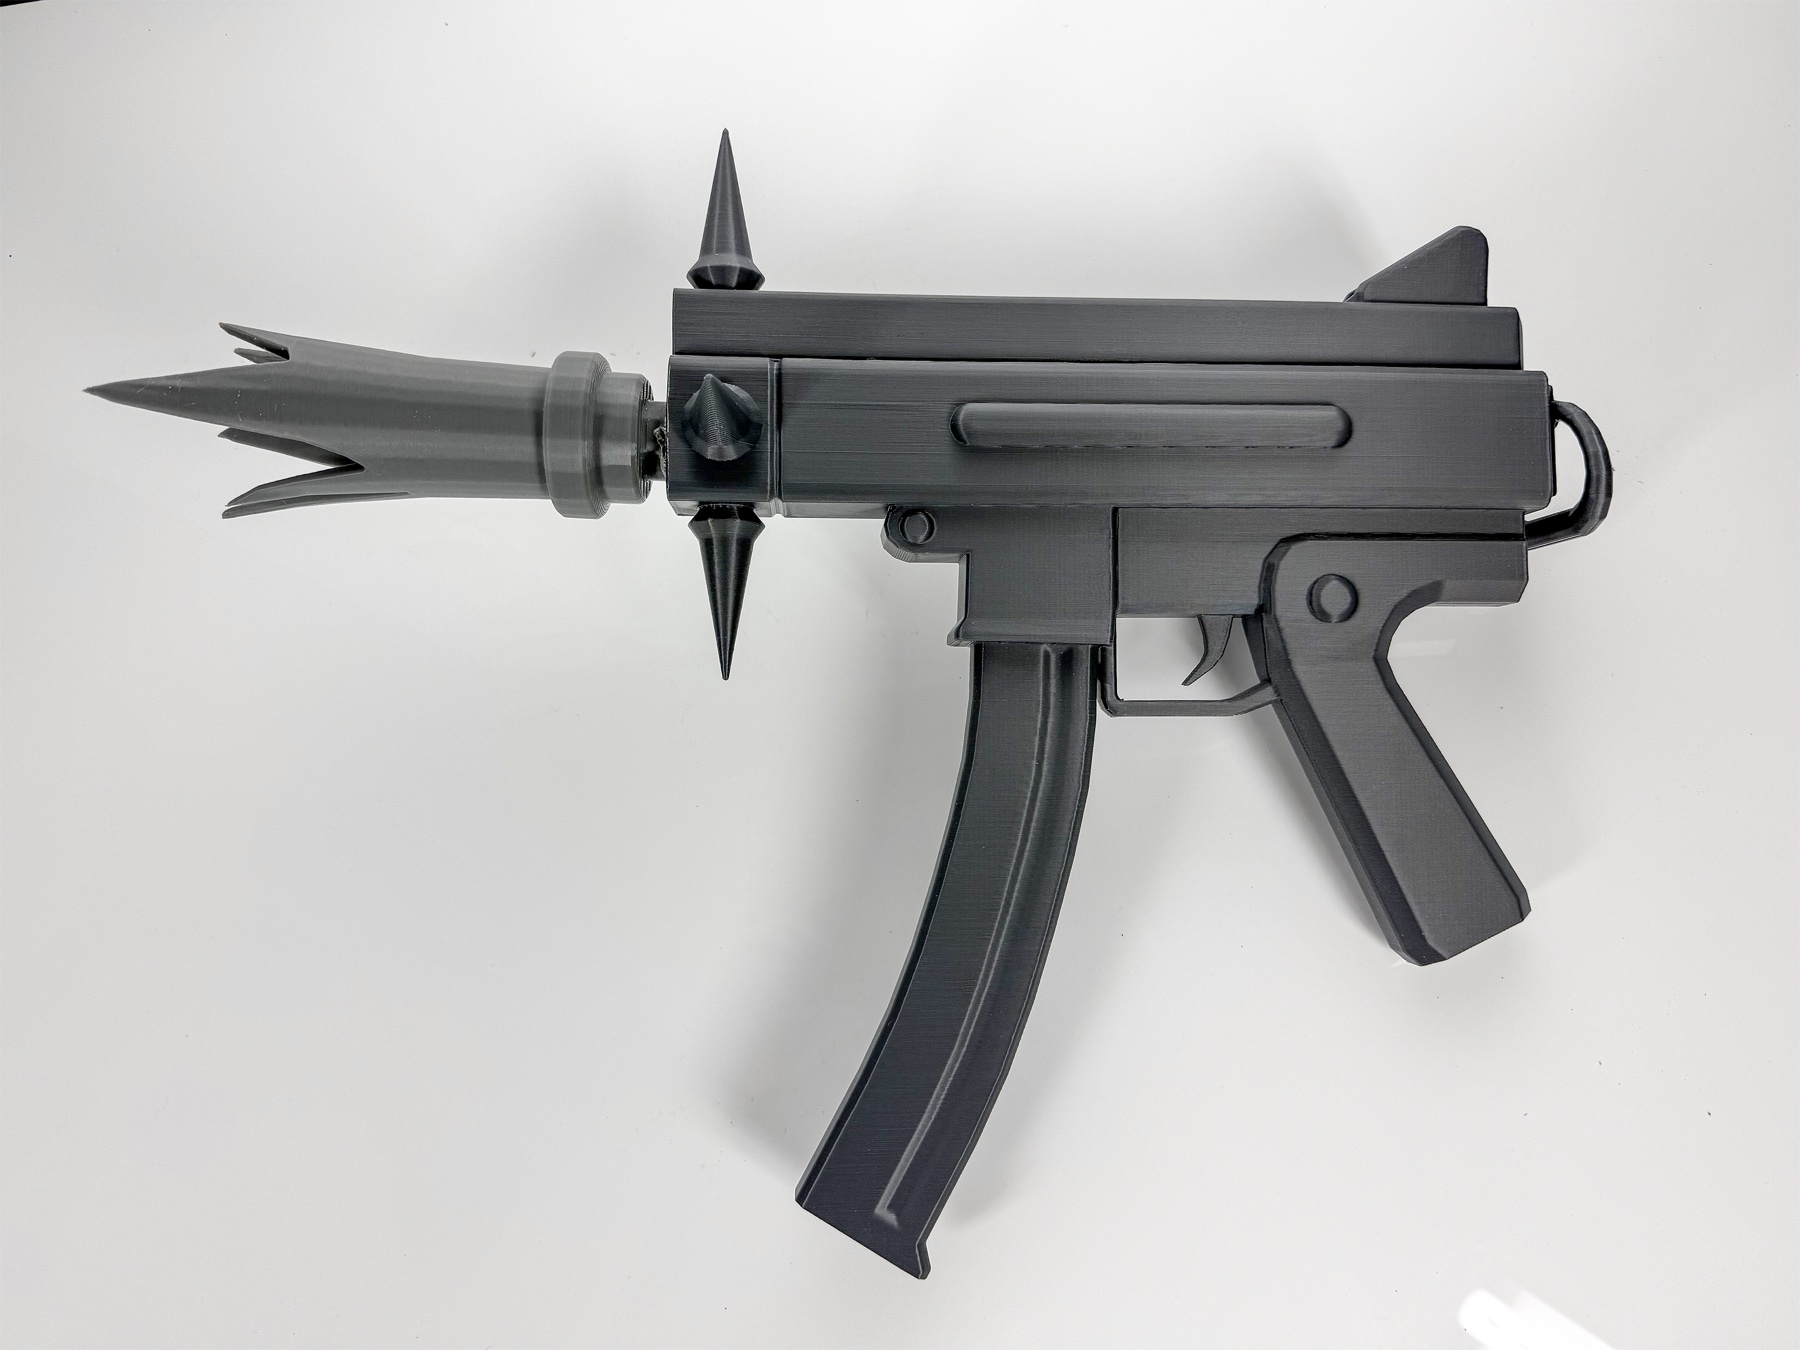
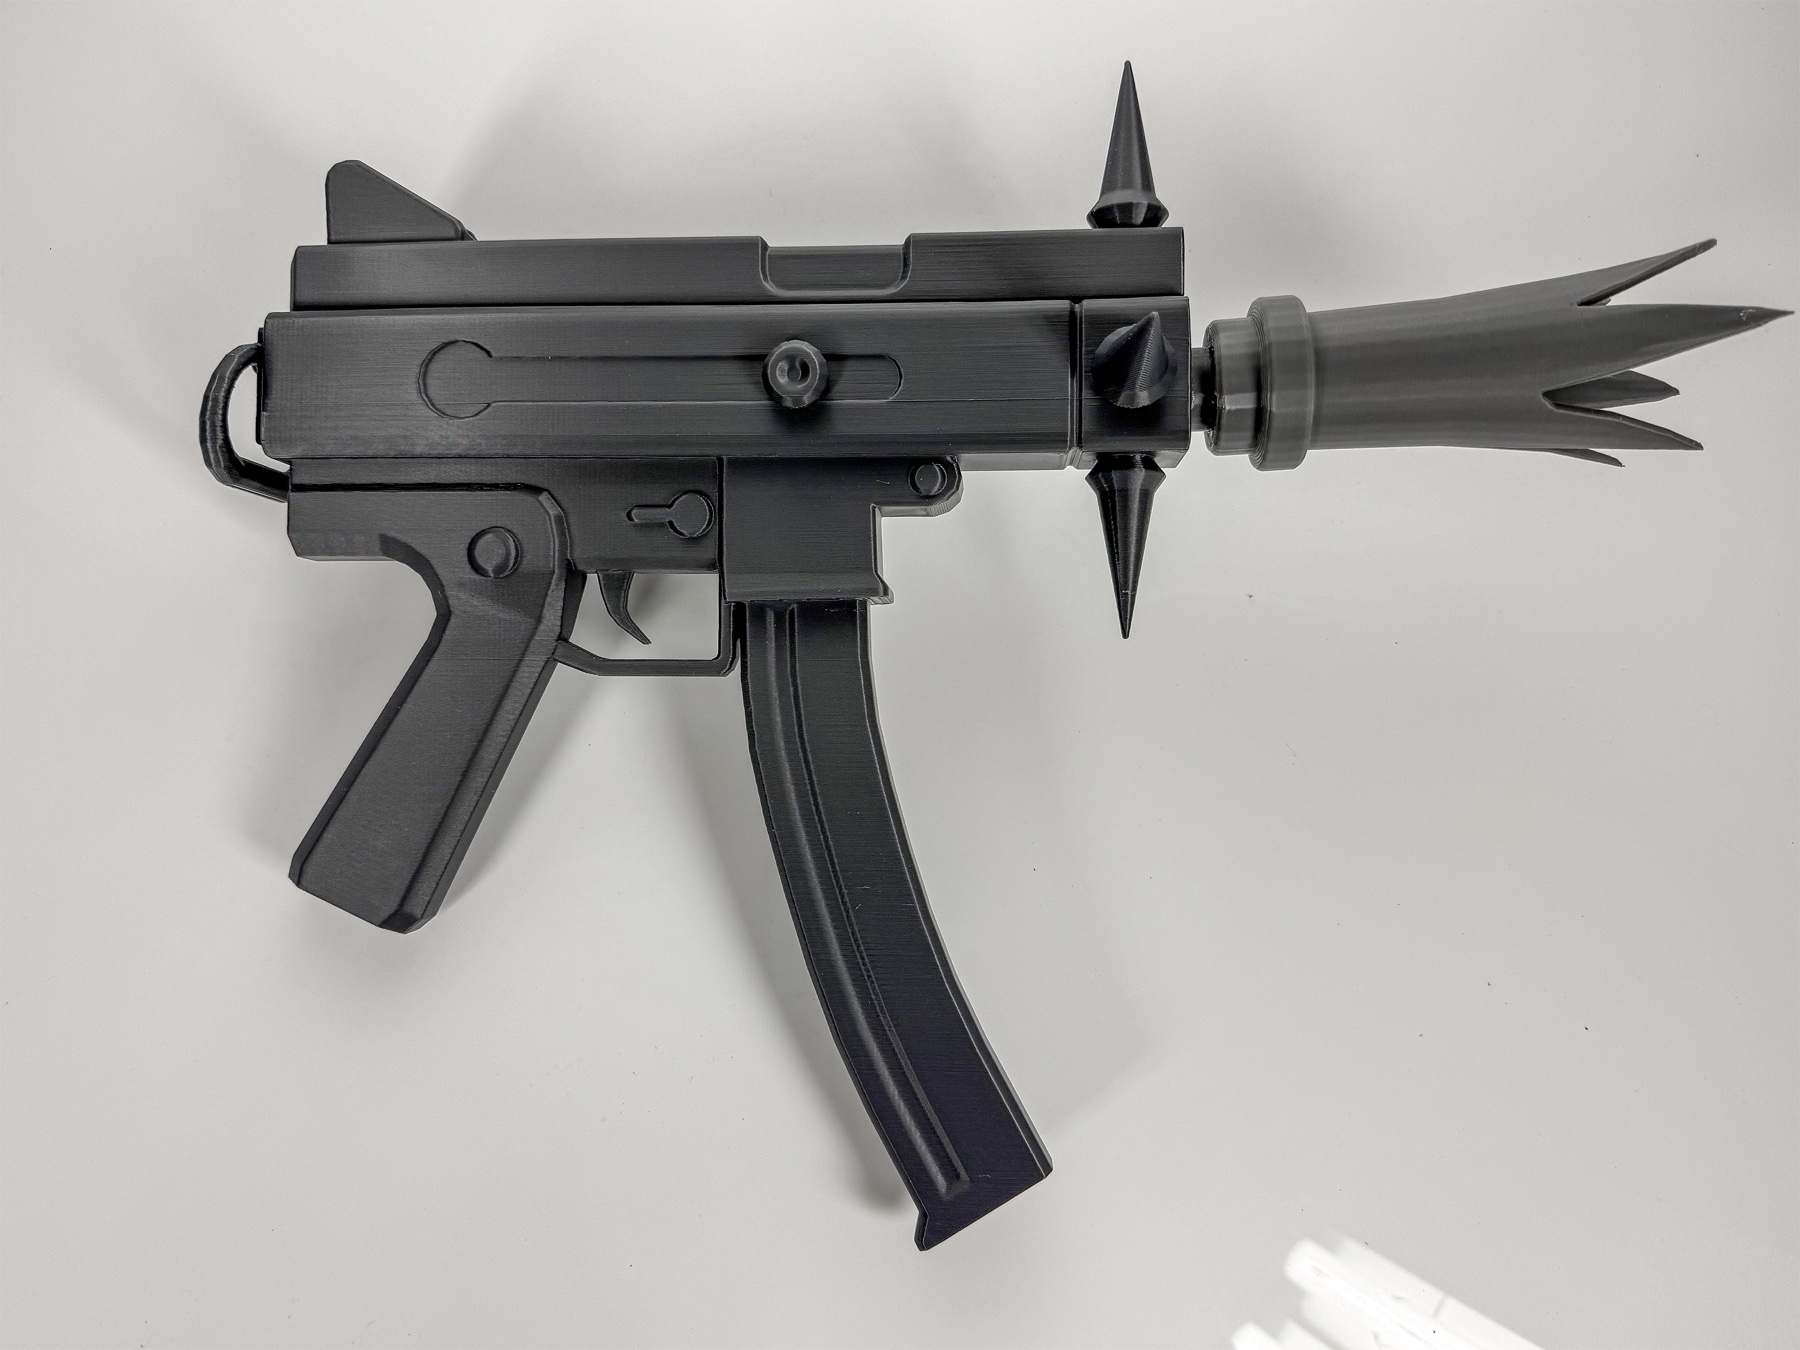

Modeled, Printed, and Assembled In-House
Because the model preparation and the printing happen in the same shop, problems get caught on screen instead of on the print bed.
Working through separation, repair, splitting, connector design, and verification in-house meant every decision could be checked against how the parts would actually print and go together. The body and lower slide were prepared for our Bambu Lab H2D and the muzzle for the X2D, using gray PLA with PETG only at the support interfaces to make support removal cleaner. The result is a large prop that assembles predictably instead of needing to be forced into alignment.
Custom 3D Printing in Louisville, KY
Have a model, an idea, or a prop that needs to be made printable? Cru Bear can help.
Cru Bear provides custom 3D printing, model preparation, large-format part planning, connector engineering, production, and assembly support for customers in Louisville, Kentucky, Southern Indiana, and beyond. Whether you have an STL, a character model, a cosplay accessory, a display prop, or a statue or scale model that still needs development, send it over and we will tell you honestly what it takes to build it.